0.准备编译目录
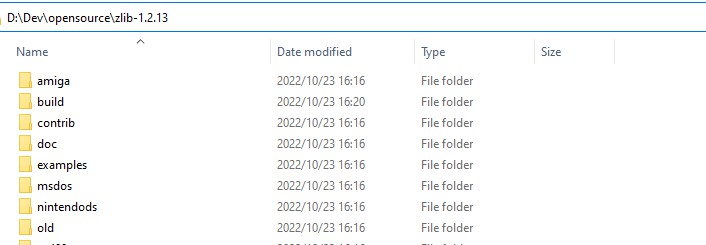
新建目录D:\dev\opensource,所有编译过程均在该目录下进行。
1. 编译zlib
官网:https://zlib.net
版本:1.2.13
1.1 下载源码
下载后解压到D:\dev\opensource目录下
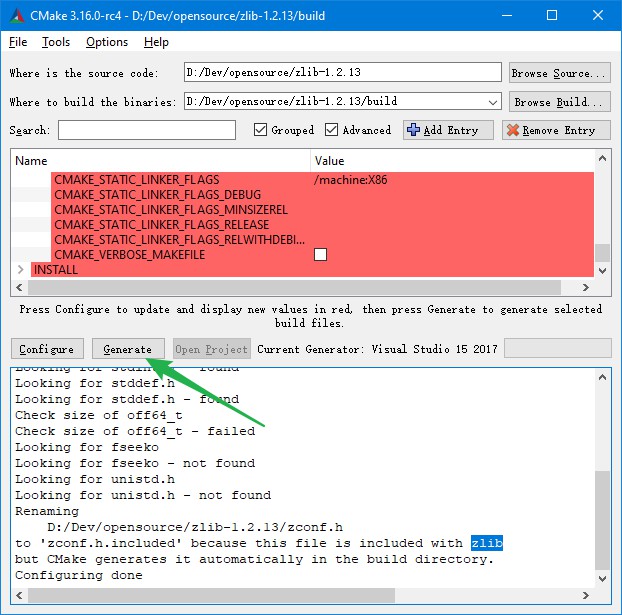
1.2 CMake GUI构建项目

生成完成后,点击“Open Project”,打开VS2017。
1.3 编译
选中zlibstatic项目,构建zlib的静态库。(win32 release)
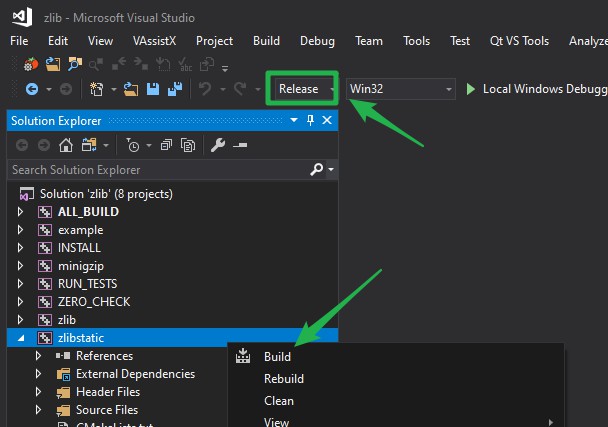
编译完成后,将在D:\Dev\opensource\zlib-1.2.13\build\Debug下生成zlibstaticd.lib文件,修改名为zlib.lib。
复制到D:\CPP_INCLUDE\zlib\x86\lib目录下。
将zlib.h、zconf.h文件复制到D:\CPP_INCLUDE\zlib\x86\include目录下。
1.4 结果
同理构建x64 release。
最终形成如下文件:
D:\CPP_INCLUDE\zlib
├─x64
│ ├─include
│ │ zconf.h
│ │ zlib.h
│ └─lib
│ zlib.lib
└─x86
├─include
│ zconf.h
│ zlib.h
└─lib
zlib.lib
2. 编译openssl
官网:https://www.openssl.org
版本:1.1.1q
2.2 安装Strawberry Perl
官网:https://strawberryperl.com
下载zip版本,免安装。
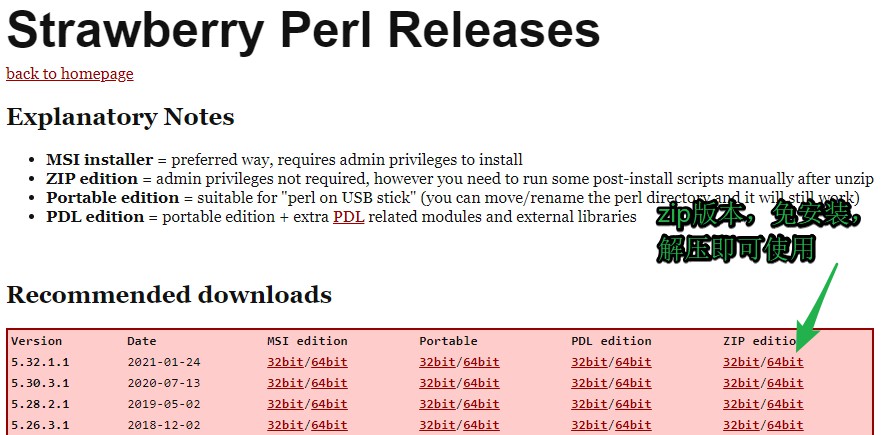
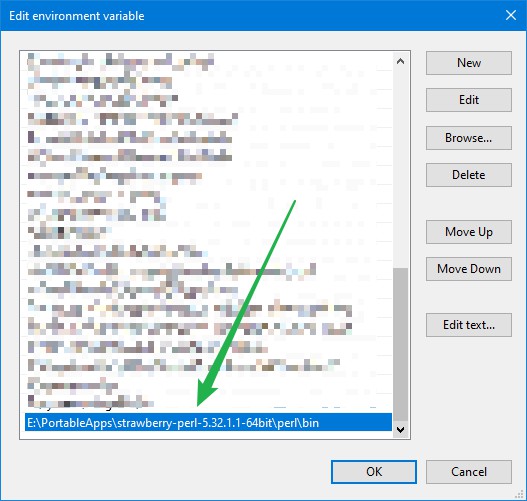
解压到某个目录,然后配置环境变量,PATH添加E:\xxx\strawberry-perl-5.32.1.1-64bit\perl\bin
2.1 下载源码
下载后解压。
2.2 编译(32位)
复制openssl目录到D:\dev\opensource目录下,重命名为openssl-1.1.1q-x86

新建安装目录D:\CPP_INCLUDE\openssl\x86。
打开x86 Native Tools Command Prompt for VS 2017工具,切换到openssl源码目录。
cd "D:\Dev\opensource\openssl-1.1.1q-x86"
D:
perl Configure VC-WIN32 --release no-asm no-shared --prefix="D:\CPP_INCLUDE\openssl\x86"
nmake
nmake test # 可选,很慢
nmake install
2.3 编译(64位)
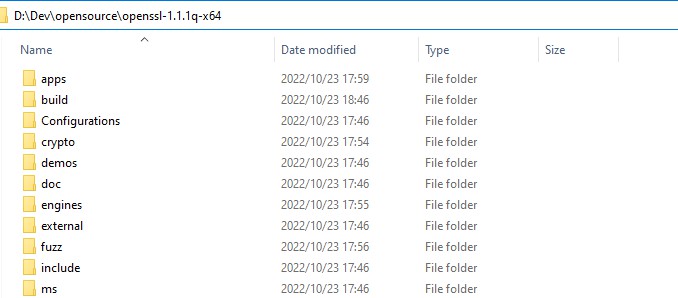
复制openssl目录到D:\dev\opensource目录下,重命名为openssl-1.1.1q-x64
新建安装目录 D:\CPP_INCLUDE\openssl\x64 。
打开x64 Native Tools Command Prompt for VS 2017工具,切换到openssl源码目录。
cd "D:\Dev\opensource\openssl-1.1.1q-x64"
D:
perl Configure VC-WIN64A --release no-asm no-shared --prefix="D:\CPP_INCLUDE\openssl\x64"
nmake
nmake test# 可选,很慢
nmake install
3. 编译curl
官网:https://curl.se/
版本:7.85
3.1 下载源码
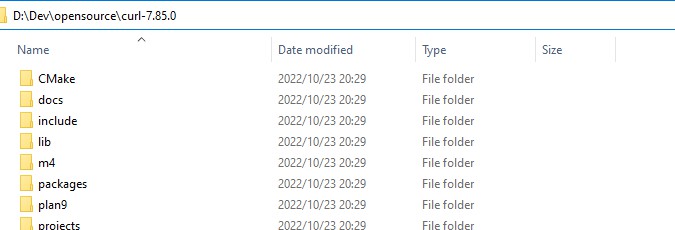
下载后解压到D:\CPP_INCLUDE\opensource。
3.2 编译(32位)
打开x86 Native Tools Command Prompt for VS 2017 工具,切换到 D:\Dev\opensource\curl-7.85.0\winbuild 目录。
nmake /f Makefile.vc mode=static VC=15 MACHINE=x86 DEBUG=no WITH_SSL=static WITH_ZLIB=static WITH_PREFIX=D:\CPP_INCLUDE\curl\x86\SSL_PATH=D:\CPP_INCLUDE\openssl\x86\ZLIB_PATH=D:\CPP_INCLUDE\zlib\x86\
选项说明:
· mode=<static/dll> :编译静态/动态库
· VC=<10/11/12/14/15/16>:VisualStudio版本
· MACHINE=<x86/x64>:生成32/64位库
· DEBUG=<yes/no>:生成debug/release版本
· WITH_SSL=<static/dll>:openssl的库类型
· WITH_ZLIB=<static/dll>:zlib的库类型
· WITH_PREFIX=<path>:编译结果输出路径。必须以反斜杠\结尾
· SSL_PATH=<path>:openssl路径
· ZLIB_PATH=<path>:zlib路径
附Visual Studio版本号对照表。
| VC版本 | _MSC_VER宏的值 | VS版本 | MSVC toolset version |
|---|---|---|---|
| VC6.0 | 1200 | VS 6.0 | |
| VC7.0 | 1300 | VS2002 | |
| VC7.1 | 1310 | VS2003 | |
| VC8.0 | 1400 | VS2005 | 80 |
| VC9.0 | 1500 | VS2008 | 90 |
| VC10.0 | 1600 | VS2010 | 100 |
| VC11.0 | 1700 | VS2012 | 110 |
| VC12.0 | 1800 | VS2013 | 120 |
| VC14.0 | 1900 | VS2015 | 140 |
| VC15.0 | [1910,1916] | VS2017 | 141 |
| VC16.0 | [1920,1929] | VS2019 | 142 |
| VC17.0 | [1930,) | VS2022 | 143 |
3.2 编译(64位)
打开x64 Native Tools Command Prompt for VS 2017 工具,切换到 D:\Dev\opensource\curl-7.85.0\winbuild 目录。
nmake /f Makefile.vc mode=static VC=15 MACHINE=x64 DEBUG=no WITH_SSL=static WITH_ZLIB=static WITH_PREFIX=D:\CPP_INCLUDE\curl\x64\ SSL_PATH=D:\CPP_INCLUDE\openssl\x64\ ZLIB_PATH=D:\CPP_INCLUDE\zlib\x64\
3.3 合并多个静态库 (可选)
代码中使用libcurl库,编译的时候,需要同时链接 libcurl.lib ,zlib.lib ,libssl.lib ,libcrypto.lib 4个库。
可以将这4个库文件合并为1个 libcurl.lib。
3.3.1 (32位)
新建文件夹D:\CPP_INCLUDE\curl\x86\lib_merge。
打开x86 Native Tools Command Prompt for VS 2017工具,切换到D:\CPP_INCLUDE\curl\x86\lib_merge目录。
lib.exe D:\CPP_INCLUDE\curl\x86\lib\libcurl.lib D:\CPP_INCLUDE\openssl\x86\lib\libcrypto.lib D:\CPP_INCLUDE\openssl\x86\lib\libssl.lib D:\CPP_INCLUDE\zlib\x86\lib\zlib.lib /out:D:\CPP_INCLUDE\curl\x86\lib_merge\libcurl.lib
3.3.1 (64位)
新建文件夹D:\CPP_INCLUDE\curl\x64\lib_merge。
打开x64 Native Tools Command Prompt for VS 2017工具,切换到D:\CPP_INCLUDE\curl\x64\lib_merge目录。
lib.exe D:\CPP_INCLUDE\curl\x64\lib\libcurl.lib D:\CPP_INCLUDE\openssl\x64\lib\libcrypto.lib D:\CPP_INCLUDE\openssl\x64\lib\libssl.lib D:\CPP_INCLUDE\zlib\x64\lib\zlib.lib /out:D:\CPP_INCLUDE\curl\x64\lib_merge\libcurl.lib
4. 测试libcurl(C语言)
#include <string.h>
#include <stdlib.h>
#include <stdio.h>
#include <curl/curl.h>
struct memory{
char* response;
size_t size;
};
static size_t callback(void* data, size_t size, size_t nmemb, void* userp)
{
size_t realsize = size * nmemb;
struct memory* mem = (struct memory*)userp;
char* ptr =(char*)realloc((void*)mem->response, mem->size + realsize + 1);
if(ptr==NULL){
return 0;/* out of memory! */
}
mem->response = ptr;
memcpy(&(mem->response[mem->size]), data, realsize);
mem->size += realsize;
mem->response[mem->size]='\0';
return realsize;
}
int main()
{
/* 1. 初始化 */
CURL* curl = curl_easy_init();
if(!curl){
printf("curl_easy_init failed\n");
return1;
}
struct memory chunk = {0};
chunk response = NULL;
chunk size = 0;
/* 2. 发送请求 */
curl_easy_setopt(curl, CURLOPT_URL,"https://www.baidu.com");
curl_easy_setopt(curl, CURLOPT_WRITEFUNCTION, callback);
curl_easy_setopt(curl, CURLOPT_WRITEDATA,(void*)&chunk);
curl_easy_setopt(curl, CURLOPT_SSL_VERIFYHOST,0L);
curl_easy_setopt(curl, CURLOPT_SSL_VERIFYPEER,0L);
curl_easy_setopt(curl, CURLOPT_SSL_VERIFYSTATUS,0L);
curl_easy_perform(curl);
/* 3. 查看请求返回结果 */
printf("%s\n", chunk.response);
/* 4. 清理 */
if(chunk.response){
free(chunk.response);
chunk.response = NULL;
chunk.size = 0;
}
curl_easy_cleanup(curl);
curl = NULL;
return 0;
}
添加如下lib
· ws2_32.lib
· wldap32.lib
· crypt32.lib
· Normaliz.lib
· --
· libcurl.lib (如果已经合并,就不需要下面3个了)
· libcrypto.lib
· libssl.lib
· zlib.lib
编译运行程序,输出百度首页的html说明测试通过。
END
